I am often approached with the question, “How do you paint?” I never quite know how to answer this question other than by giving the literal answer, “I just do it.” Painting, despite popular belief, is something that anyone can do. To prove it to you, I am starting a monthly series with tips and tutorials on how to approach different kinds of artwork. For this week, I have compiled a list of simple steps of how to approach painting with acrylics.
Photos by Heidi Kim.
 Make sure you have all the necessary supplies
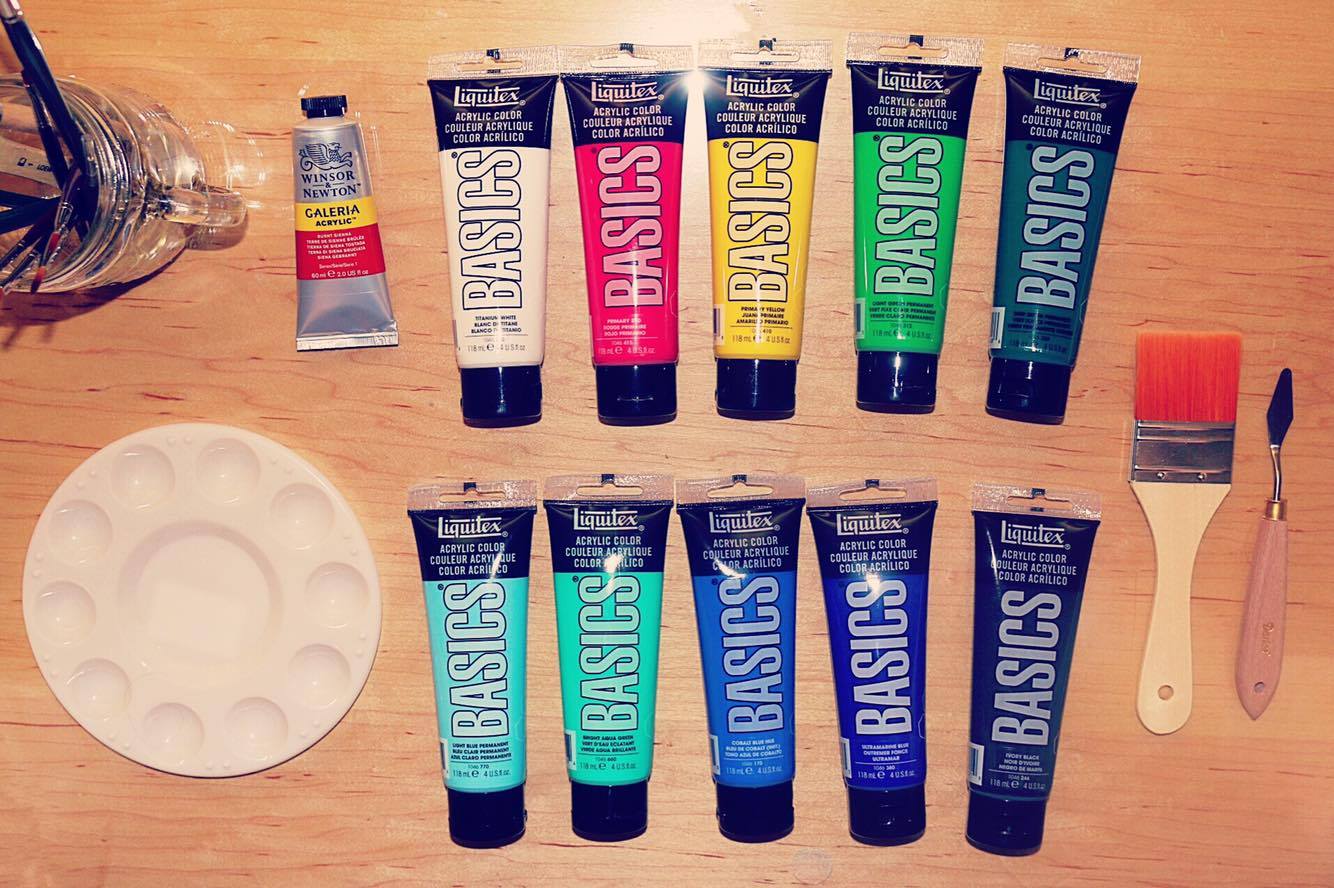
- Acrylic paint (recommended companies: Winsor & Newton, Liquitex Basics)
- Acrylic brushes (get a variety of sizes, but be sure you don’t get oil brushes because their bristles are texturally different)
- Palette or palette paper (freezer paper also works as palette paper)
- Cup and water (for washing brushes and keeping the paint moist)
- Painting surface (canvas, illustration board, etc.)
- Gesso (*or Burnt Sienna acrylic paint)
- Blow dryer (*optional)
- Palette knife (*optional)
 Preparation
Set up your painting space and get out all the materials you will need. It is important that you pick a space that you don’t mind getting dirty (aka don’t paint in your dining room on your mom’s prized family heirloom). The nice part of acrylic paint is that it washes off. That being said, prepare to get messy! If you’re anything like me, you will end up covered in paint splotches in the most random places…
 Underdrawing
In any piece, the best way to get that “finished glow” is to prep the canvas correctly and effectively. The first part of this process is always the underdrawing. It is important to sketch the image you will be painting onto your canvas/board. Make sure the sketch is light as to not damage the surface, but still dark enough to see once covered with the first few layers of paint.
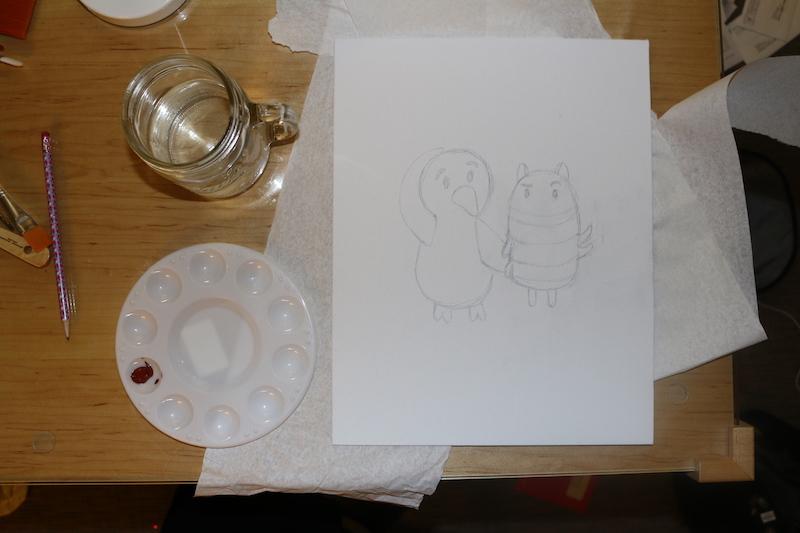
Once you are satisfied with your drawing, it’s time to apply the base coat. I recommend using either gesso or Burnt Sienna colored acrylic paint. Gesso looks very similar to white acrylic paint. The purpose of applying Gesso is to make a new, flatter surface, thus easing the painting process and smoothing out any bumps on the canvas.
On the piece I’m working on here, however, I used the Burnt sienna method. With acrylics, it is crucial to constantly apply water to the pigment, otherwise the paint will dry out quickly and be unusable. After you water down the Burnt Sienna, apply it in long strokes onto the canvas. Although direction doesn’t technically matter, be sure to apply the pigment evenly.
[unitegallery burntsienna]
Check out the video below to see me using this method:
https://www.youtube.com/watch?v=sEJP8LgNJMo&feature=youtu.be
 Begin painting
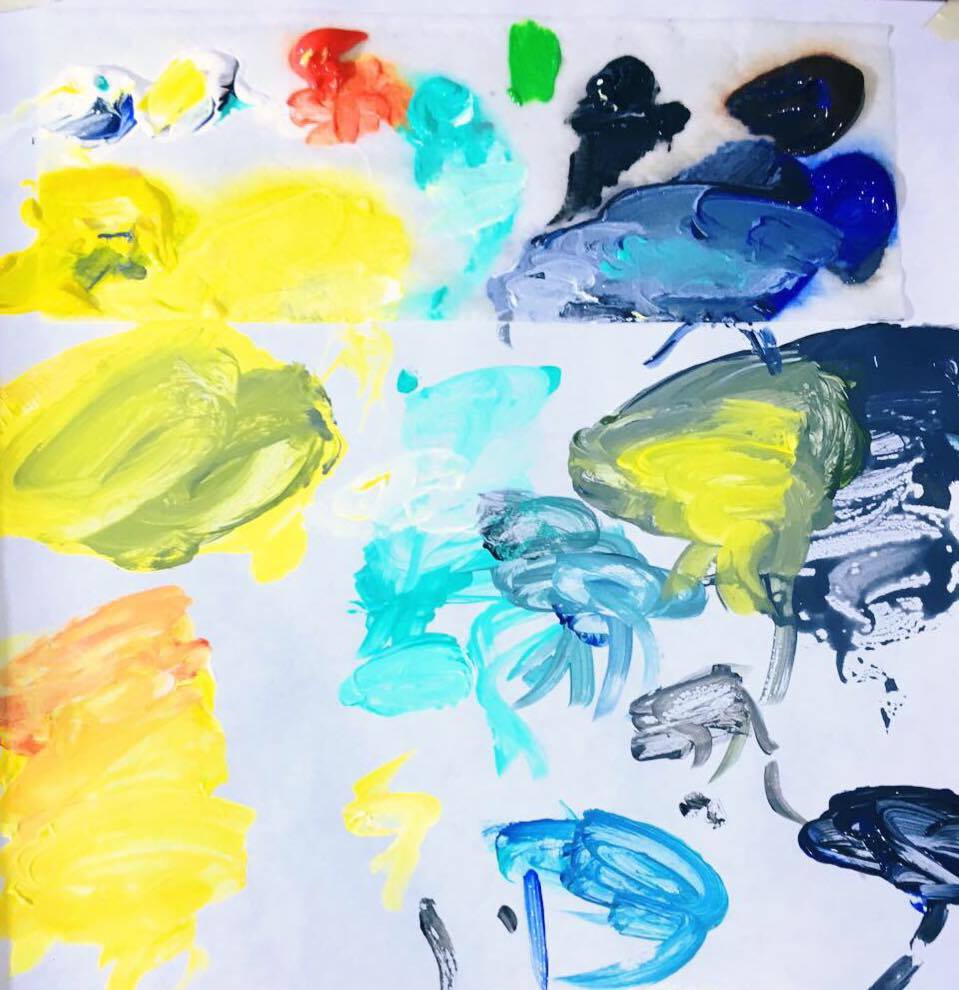
*When squeezing out paint, an amazing trick I learned is to squeeze out the paint onto a wet paper towel. Simply soak a paper towel in water and put it on top of your palette paper (if you are using a palette plate then grab something else to put the towel on). By doing this, you keep your paint wet for a lot longer, which is crucial with acrylics since they dry out so quickly.
Once the base layer has dried (using a blow dryer can help speed up this part), it is time to start painting. As I said before, it is crucial to keep the paint wet when dealing with acrylics. Often it will take a few layers for the colors to appear very saturated and solid, so remember to be patient.
Also, don’t be afraid to be messy on your palette. Spread your paint out, and allow yourself room to mix and match colors. Use the blow dryer (or wait for the canvas to air dry) to dry the paint after you apply each layer. This will make the paint apply very evenly and will make the colors really solid at the end. Start with basic colors, and divide between lightness and darkness. Then, gradually develop the colors as you apply more layers.
 Finishing touches (Optional)
*This step is optional. If you want to give your piece an extra coating, you can use glaze to do so. Again, this step is not necessary; I personally do not glaze my pieces. But by adding glaze, you add a protective coating to prevent your piece from getting damaged and can bring out its colors and make them appear more saturated. Use a technique similar to the one you used for the base coat.
Once you’ve finished your painting, make sure to let it dry in somewhere safe. One of the best parts of acrylic paint is that it dries quickly. So in no time, your masterpiece will be ready to show off and display!
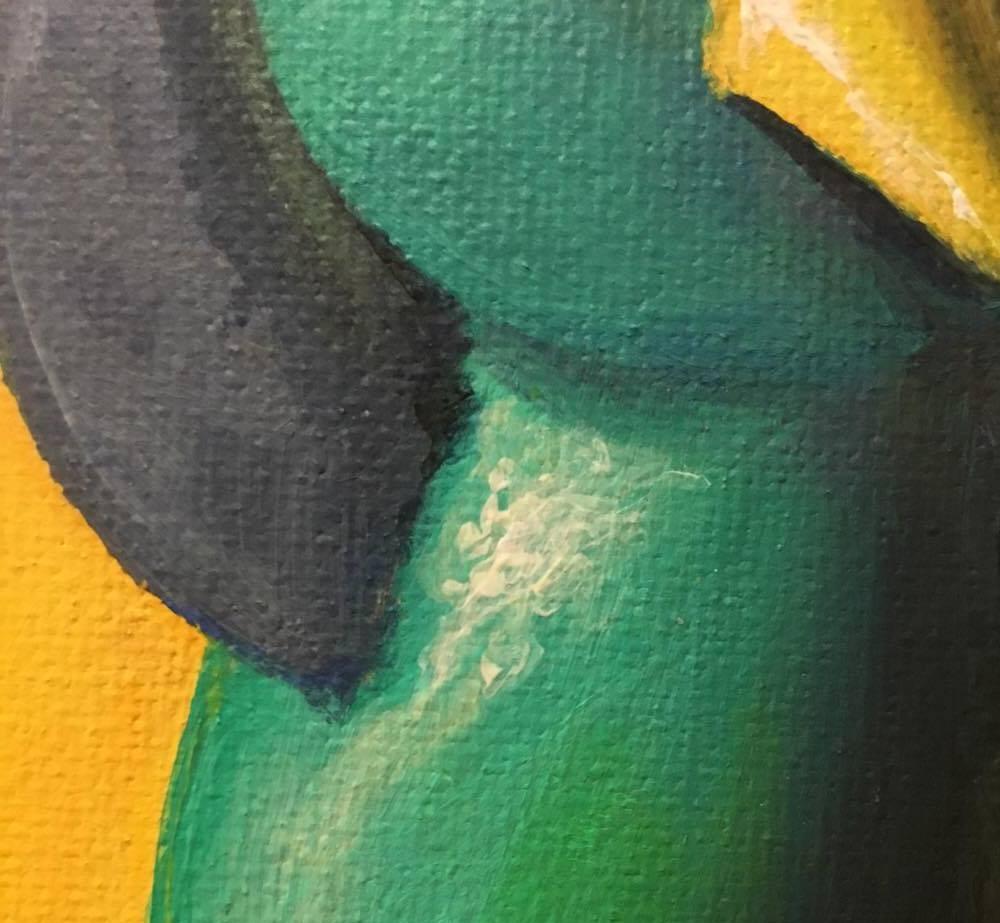
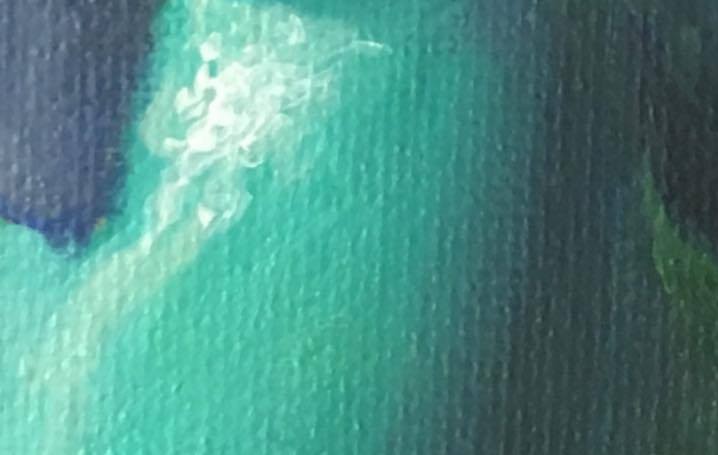
Above is a focused close up of the same subject. Check out the next edition of the Fourcast to see the final product!


